3 Important Components to Review and Refine Before Your Demo Lesson Interview
[ad_1]
Home /
If you are in the process of looking for a new position, or you have advanced to the stage where you will demonstrate a lesson—congratulations! You are on a wonderful journey in your pursuit of a new opportunity. Now that your paperwork is complete, things just got real. You will most likely have to present a lesson to your future students.
No matter how you might be feeling, we will break down the three essential components you will need to review and refine before your demo lesson interview. Read on to review all of the factors that support teaching a sample lesson. These are also great tips to feel calm during any evaluation!
1. Pre-plan the lesson.
Before you can plan the lesson, you need to know who you are planning for, where you will be teaching, which supplies will be provided, how much time you will have, and all of the details that support the successful delivery of the lesson. To ensure your plans account for the considerations mentioned above, investigate the following four factors.
1. Research student demographics.
Ask about the students’ grade level, what they have recently worked on or learned, the program they are currently in (such as summer school), how many emerging English language learners will be present, and if anyone has an IEP or 504 plan.
Find out as much background information as you can, so you can make accommodations, create translated materials, and organize supplemental resources. This extra step will not only ensure your lesson sets as many students up for success as possible but will also demonstrate your preparedness.
2. Budget an appropriate timeframe.
Independent School Management, a resource for independent schools, admits there is no “optimal” amount of time for a given lesson length. However, they note that “class length must allow for the successful delivery of information.” In the case of an art lesson, you must also factor in enough time to complete the project.
With this in mind, negotiate your lesson timeframe when possible. Be sure you are considering the setup and cleanup time. A good timeframe is no less than 40 minutes for K-5 and 45-60 minutes for grades 6 and up. Avoid attempting 30-minute lessons unless you are already well-versed in teaching in a tight timeframe.
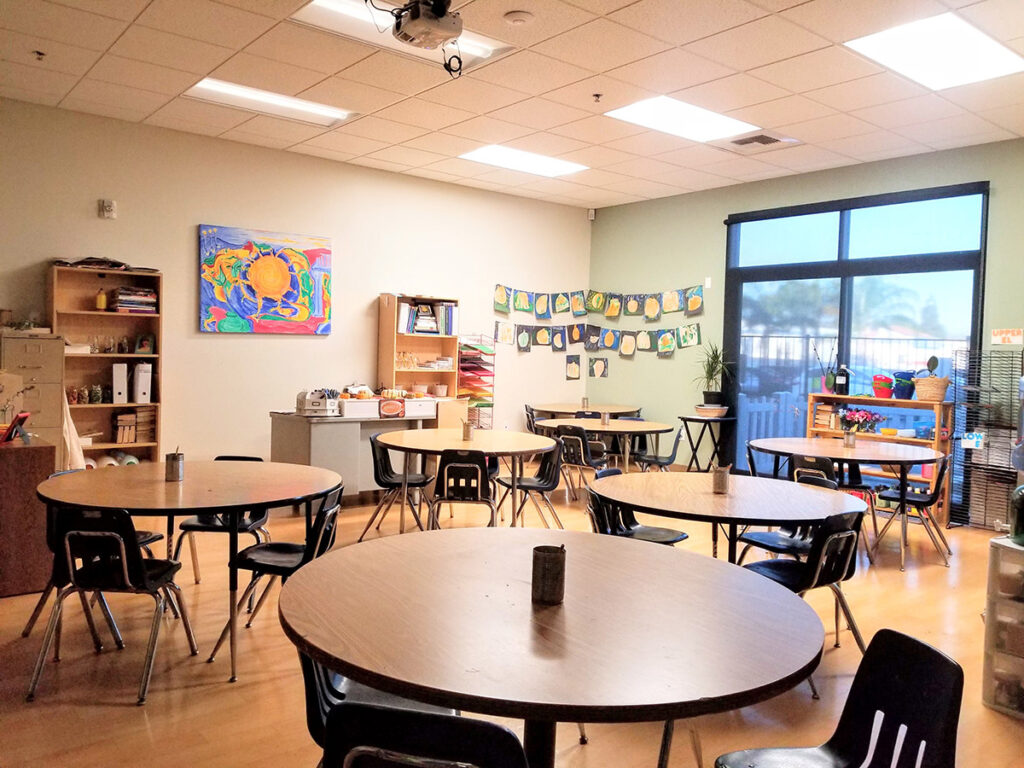
3. Confirm the space and supplies.
Not all classrooms are created equal. Confirm which room you will be teaching in and ask to tour it ahead of time. You will want to familiarize yourself with the room’s layout, so you can consider your setup and any potential student movement. If needed, ask to temporarily move furniture in consideration of your needs for the day.
Determine whiteboard availability and sink access. Be sure to discuss any cleanup requirements ahead of time, especially if you are presenting in a non-art room. If no whiteboard or chalkboard is available, print out your objective or “I Can” statement to post in the room. If you don’t have a sink, plan to work with wet towels, buckets of water, or baby wipes as needed.
Find out which supplies will be made available to you and what you will need to bring. It’s always been a combination of both in my experience. Usually, the school provides paper, paintbrushes, pencils, and cleaning materials. If you are particular about using certain products or brands, always bring the specific materials you want. Make sure you are comfortable with the materials ahead of time, so there are no surprises with application on the day of your lesson.
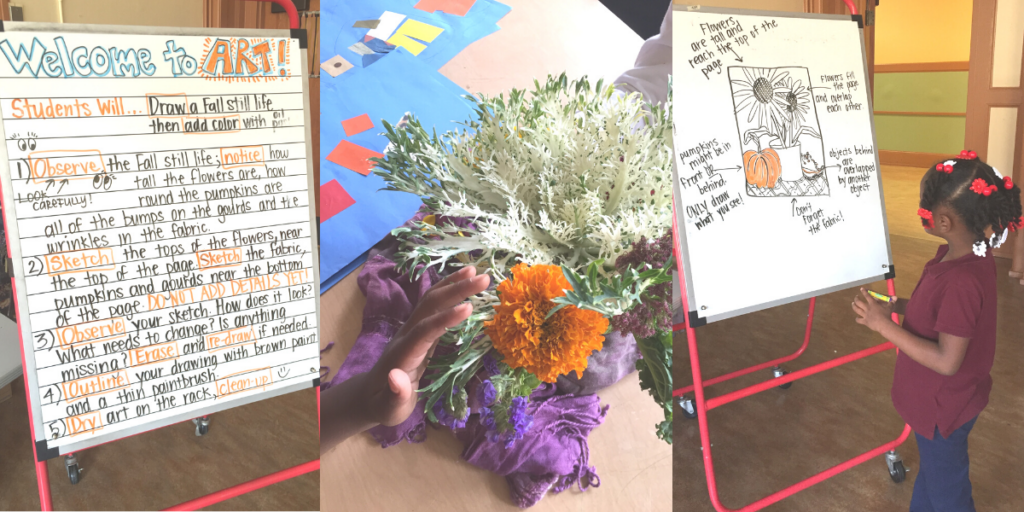
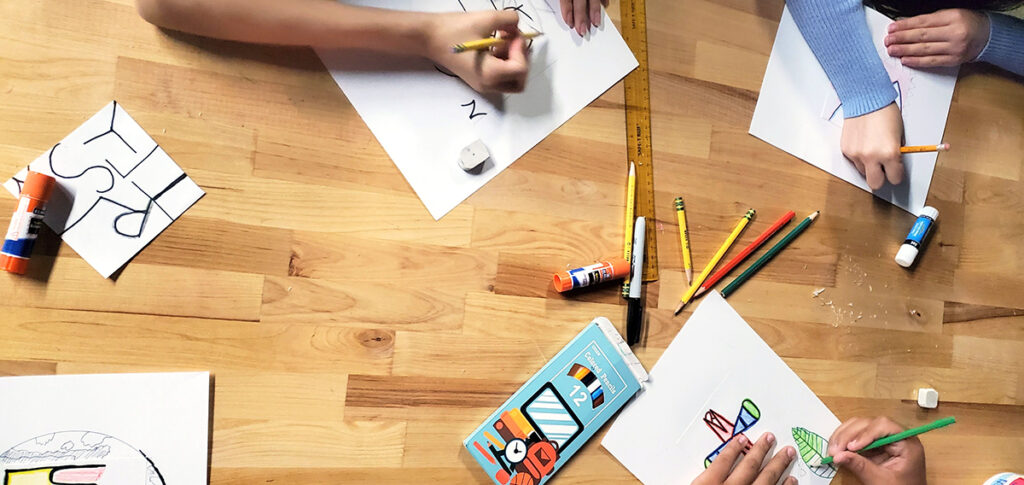
4. Plan the artmaking session.
Most of us are familiar with ideating and writing great art lessons! If you are unsure of where to start with lesson planning, the Identifying Essential Content and Objectives PRO Pack and the course, Instructional Strategies for Art Teachers, are both good places to start.
If you are confident with your lesson planning abilities, here are some additional things to consider to help make your demo run as smooth as possible:
- Write an outline of your lesson for your personal use. It is handy to have an at-a-glance reference to help you stay on track with timing.
- Prepare a one-sheet handout. This may be similar to what you might provide during a regular evaluation to give an overview of the lesson and expected outcomes.
- Build-in success and allow room for creativity with low-stake, high-interest projects. They may be more to prep than a pencil and paper project but will win students over and keep them engaged.

These three FLEX Lessons would be great to try in your next demo interview:
- The Four Seasons of Color
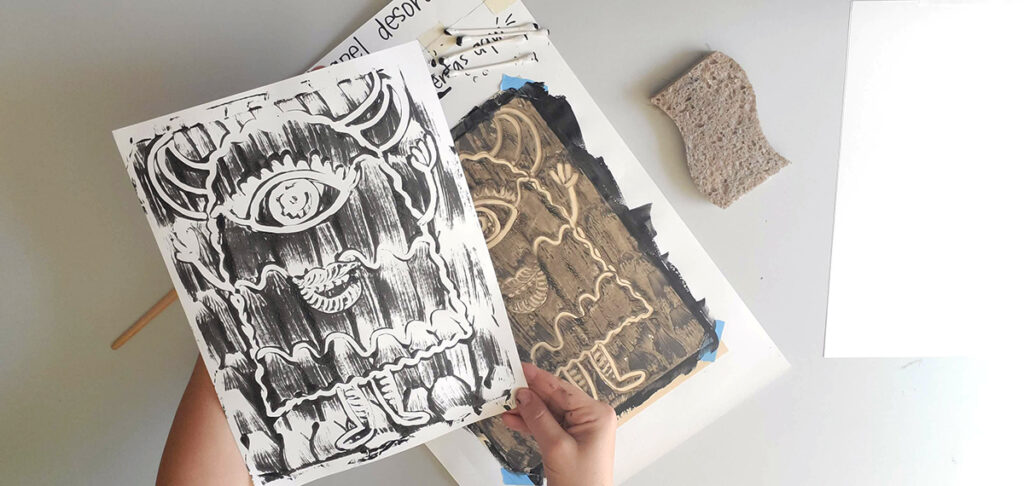
This oil pastel lesson is fun for elementary students. Modify this for your timeframe by asking students how color relates to seasonality during the lesson’s introduction. - Reduction Monotype Still Life
This monoprinting lesson is perfect for middle schoolers. Modify this for your timeframe by bringing in various still lifes for the number of table groups you will have. - Posters for Social Change
This painting project will hook high school students. Modify this for your timeframe by providing examples of social change issues students can select from before making a poster.
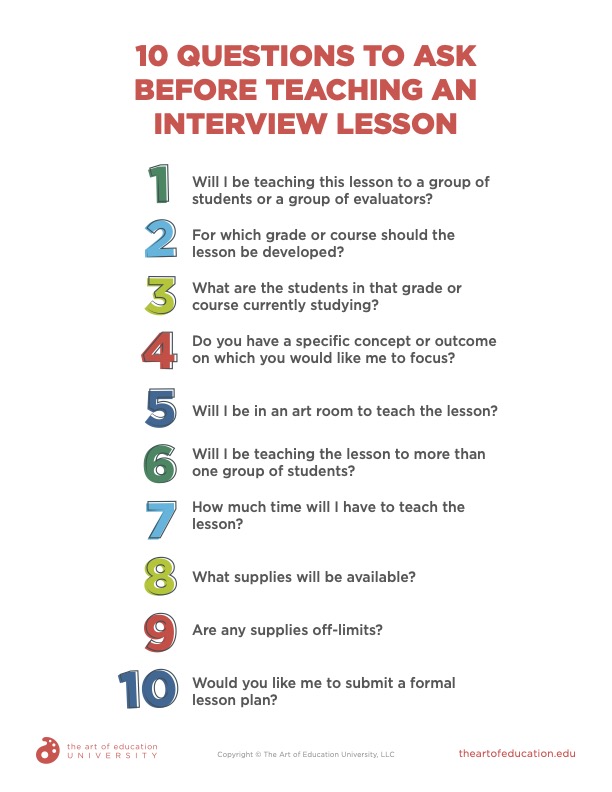
To further help you determine what to ask, here is a complimentary download of 10 Questions to Ask Before Teaching An Interview Lesson. Find more resources in our Getting Hired as an Art Educator PRO Pack.
Download Now!
2. Demonstrate the lesson.
It’s showtime! You are awake, on time, dressed, ready to make art, and feeling prepared. Now all you need to do is customize the space and await students’ arrival.
1. Set up the classroom.
Modify the room’s layout for visibility of the board and demonstration table. Consider the movement of students if needed, as well as access to the sink and materials. Create stations or trays for each table group to efficiently distribute supplies.
2. Greet students and establish communication.
Greet students as they enter the classroom to help them feel comfortable in your presence. It may feel a little intimidating to have a stranger present a lesson to them, so be sure to come across as approachable and communicate your expectations clearly. Tell them who you are, how to pronounce your name, and the best way to get your attention.
Thank students for allowing you to create art with them and then lay out the plans. Students thrive when they know what to expect. They will be more likely to participate and respond to you if they know what they are supposed to be doing. This is a great segway to reading the objective.
3. Clarify the goal.
Distribute your one-sheet lesson plan or overview to each of your observers. Display the lesson’s goal in a prominent location. Ensure that it is written for your student audience at their reading level.
Here are a few other ways to clarify and reinforce the goal throughout the lesson:
- Review the goal of your lesson with the students and check for understanding.
- Ask students to summarize the goal of the lesson in their own words.
- Share a signal. For example, students can nod their heads up and down if they understand, shake their heads left and right if they don’t, and raise their hands if they are not sure and need to ask a question.
4. Demonstrate the lesson.
Have your lesson outline nearby to help keep you on track for pacing. Pacing is very important because you only get the designated amount of time to complete the lesson. As you progress through the lesson, keep your instruction as clear and concise as possible. Check for understanding after critical points.
Here are three quick ways to check for understanding:
- “After you write your name on your paper, show me you are ready by flipping your papers over.”
- “Let’s see a thumbs up if you are ready to move on, a thumbs down if you need more time, and a thumb sideways if you have a question.”
- “Raise your hand if you can fill in the blank. First, I’m going to dip my brush in water. Second, I’m going to swirl it around the cup. Third, I’m going to…”
5. Connect with students.
Developing a congenial rapport takes time that you don’t necessarily have during a demo lesson. You will lose students’ attention if your introduction and demonstration are too long or complex. Keep the project moving forward and get to the “making” portion quickly. They are excited to make art with you, and you can capitalize on that momentum with simple explanations and clear instructions.
Here are other ways you can connect with your students throughout the lesson:
- Involve students in distributing materials whenever possible.
This helps establish their participation from the outset, delegates responsibility, and shows that communication is happening. It conveys that active students are an integral part of your overall classroom management. - Encourage students during artmaking and reinforce their autonomy.
Say things like, “Try it!” during the demonstration when students “wonder” out loud to you. If you are not already encouraging students to try and fail in your classroom, it’s great to start this practice. When students can let go of perfection and trust you have faith in their ability to learn from their experiences, student growth can explode! This also shows your flexibility and demeanor with students. - Ask students frequent questions.
Observers are trying to get a sense of your ability to connect with students and be a positive addition to the school. OLAS offers a reminder to “Interact with the students to evaluate their understanding of the lesson by asking them questions frequently. Rephrase that part of the lesson in a simpler way, where the students are confused.”
6. Keep an eye out for signs of distress.
If you experience students off-task or not on their best behavior during your lesson, this is your opportunity to keep calm and demonstrate excellent classroom management. As SelectED points out, “Often, teachers think that students will follow their directions or be on their best behavior during the demo just because their principal is watching. Do not count on this.”
Here are four tips for redirecting students when they are off-task:
- For 1-3 Students
Use silent signals or hand gestures to point students to what they should be doing. - For 3-6 Students
Say, “I’ll move on when I see all students holding their paintbrushes like a pencil.” - For 6+ Students
Announce, “I can see that about half of the class has written their name on their paper. When I see everyone has done this and flipped their paper over, I’ll explain the next step.” - For the Majority of the Class
Pause. Restate expectations and check for understanding. Say, “After we wet our brushes, please show me how you will blot the extra water off.” Reinforce the positive behavior with, “Excellent! That’s correct—if your brush drips, wipe it across the lip of the water cup to remove the excess, and you are ready to paint!”
7. Reflect.
Once the lesson is complete, have the students look at their work to reflect on the experience.
Ask questions like:
- What part of your work was successful?
- What would you do differently next time?
- What would you add to this if you had more time?
- Did you encounter any difficulties while making this?
- How did you work through the challenges?
The Visionary Art Collective has even more ideas for thoughtful questions to ask throughout your demo lesson.
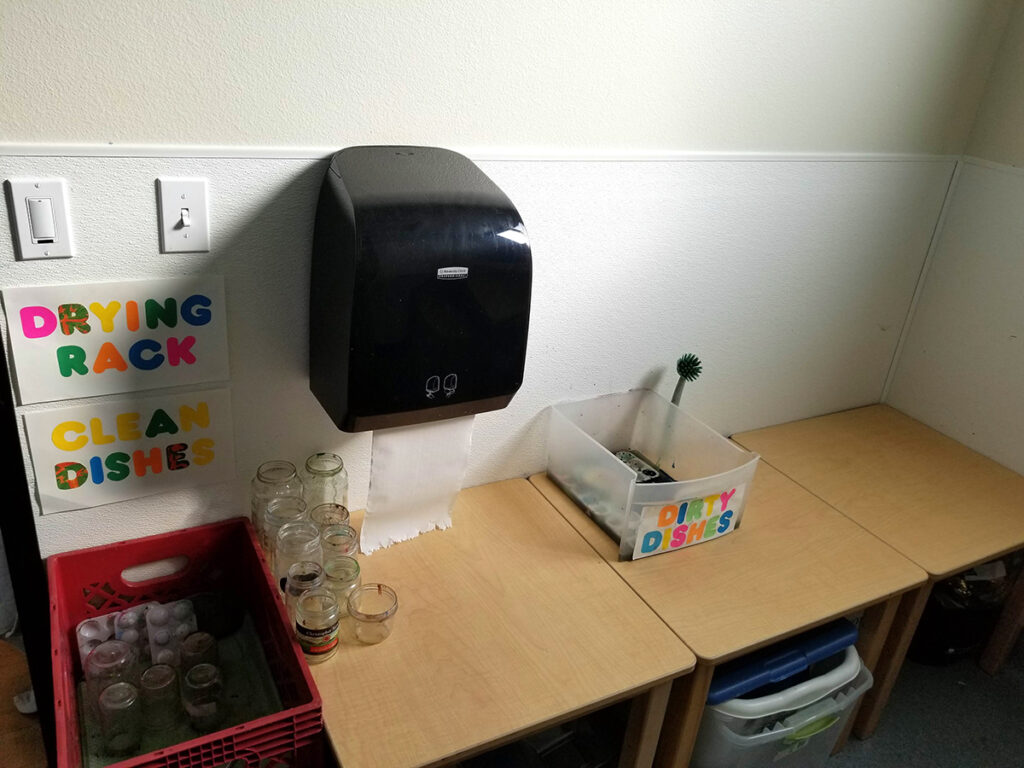
8. Clean up.
Involve students in the cleanup process to help you wind down the lesson and clear the space efficiently—just like you would in your own classroom. Effective classroom management should last through cleanup until you thank students and say goodbye. Don’t allow the last few minutes to become chaotic as students transition.
3. Follow up after the lesson.
Congratulations on completing your demo lesson interview! But not so fast—your work isn’t done yet. Before starting the celebration, make sure you follow up with your observers in a timely fashion. This may be as straightforward as thanking them in person or sending correspondence to thank them and reiterate your interest. You can share your own reflections about the most successful aspect of your lesson and what you would improve in the future. You can also ask for feedback about the lesson. Both of these show you are open to learning and growing.
Here is one last reminder.
Presenting a demo lesson is a good thing. It means the employer wants to move forward with you and views you as a serious candidate. What a fantastic opportunity! With planning, you can review and refine each component of your lesson. Further, you can feel calm and gain confidence with the provided tips. Your next offer is within reach. Good luck!
Which of the three components do you need to refine the most?
What is the most helpful advice you have on preparing for a demo lesson?
[ad_2]
Source link